Showing posts with label dinner. Show all posts

Monday, April 21, 2014

Vegan Hand Roll (Sushi) and/Or Sushi Plate

Helllllllllllllllo!


Seriously, everyone should try drinking kombucha in a wine glass. It makes me feel like such a luxurious person:


I don't know if you remembered, or knew for that matter, but I used to work for Sushi Zanmai, there I learned how to make the perfect sushi rice and the basics of rolling sushi. We were having a gluten free friend over for dinner the other night and I wanted to make sushi (turns out, my nori had gone bad, so I made one hand-roll which I photographed and turned the rest of my ingredients into a sushi-plate instead)

This is vegan and gluten free

You will need:
For sushi-- (this serves 6 people, reduce as needed)
3 cups of sushi rice
1/2 cup rice vinegar
1/4 cup of white sugar
1tablespoon of sesame oil
sesame seeds (I have black and white sesame seeds!!)
Roasted seaweed (nori) cut into half-sheets (for hand rolls)
Suggested fillings/toppings--
3 stalks of green onion, chopped into thin rounds
2 carrots, grated
Coarsely chopped garlic, about 4 cloves
1/2 cucumber, peeled and cut into strips
1 cup of baked tofu, cubed (I baked my tofu, at 350 degrees for about 30 minutes, on a cookie sheet and flipping it once, I marinated my tofu in pineapple juice, tamari, sesame oil and maple syrup for 30 minutes before I baked it)
1 avocado

For Ponzu:
1/4 cup of lime juice
1/4 cup of tamari
dash of chopped green onion


For Spicy Mayo:
1 tablespoon of Sriracha
1 tablespoon of tamari
2 tablespoons of mayo or veganaise


Start your sushi rice-- place 3 cups of sushi rice and 4 cups of water into a pan that has a tight fitting lid. Bring to a boil. Boil for one minute, stirring and then cover and reduce heat to low and allow to cook/steam with the lid on for 20 minutes. Then remove the covered rice from heat and keep it covered for another 10 minutes.


While the rice is cooking, prep your veggies/fillings:


I fried my coarsely chopped garlic in sesame oil as an added filling-- who doesn't love friend garlic? Fry the garlic over medium heat until it is golden brown. Then remove it from heat and drain the sesame oil.


 Mix the sushi rice ingredients: rice vinegar, sesame oil and sugar, with a fork until the sugar is dissolved. It isn't quite a full quarter cup of sugar in this recipe...just an fyi.


When the sushi rice has finished sitting for the additional 10 minutes of covered time after the initial 20 minutes of covered on the stove time (so uh, after 30 minutes of rice steaming) uncover and stir the vinegar-sugar mixture in with a wooden spoon. Stir it gently as you don't want to crush the rice-- think of it as folding the liquid in.


When it is mixed thoroughly the rice will be quite sticky and stand on its own without settling under its own weight. Allow the rice mixture to cool for another few minutes uncovered as you will have to handle it with your hands and don't want to burn yourself.


Mix your sauce ingredients if you want them (ponzu and spicy mayo) at this point as you are waiting for the rice to cool.


Prep your sushi ingredients, get them all in one place so that it is easy to reach as you are manipulating the rolls. Keep a bowl of cool water within hands reach to rinse your fingers off between rolls or else your fingers will get too sticky from the rice.


For a handroll, place your half-sheet nori horizontally oriented on your working surface and take a handful of sticky rice and place it down orienting it like the photo below, making sure you have that top right corner still exposed as naked nori.


Build your desired handroll, we were taught to cut the avocado thinly with a spoon so that we got really delicate, workable slices out of it, as pictured below:


Holding the whole roll in one hand, tuck the top right corner onto the topping and then flip the left side around, it should wrap around about 1 and a half times, the tuck it tightly for a more manageable roll to eat-- and it should stick together from the rice, if it doesn't use a slightly dampened finger to moisten the nori so that it sticks together.


And because my nori was stale, and not very wrapping friendly, I made sushi plates out of my ingredients on this evening for our dinner guest instead...


enjoy! xoxoxoxoxoooo!

Fennel and Pea Stroganoff, AKA WTF Was In Brian's 'Fridge?

We have been at Brian's house a lot lately (thanks, Brian!!!!!) and recently we were over and all found ourselves in need of dinner.  I had left quite a few ingredients in at his house from previous visits, and found myself winging a dinner on the scraps of things we needed to use.

We had half of a tub of sour cream, half of a bulb of fennel, some green onions, some regular onions, some peas.. so of course, I thought: stroganoff!

Now I know I already posted a stroganoff recipe, but this one has different ingredients, so there.
This recipe is vegetarian and gluten free, if you want to make it vegan substitute vegan butter or olive oil for butter, nutritional yeast for parmesan cheese and vegan plain yogurt or or vegan sour cream for the sour cream.

xoxo

You will need:
Olive oil or butter
1 small yellow onion, diced
1/2 bulb of fennel, or fennel fronds, whatever you have, chopped into long thin half moons
4 green onions, white parts and green parts chopped separately
1.5 cups of green peas, fresh or frozen
4 cloves of garlic, minced
1.5 or 2 tablespoons of rice flour
1.5 cups of vegetable broth/stock (or beef, mushroom or chicken if you prefer)
1/2 cup of plain almond milk
Black pepper
Paprika
1 cup of sour cream
1/3 of a cup of parmesan cheese (or gruyere! its what I had this time)
Salt
1lb of gluten free penne


Get your veggies ready-- and keep the green onion tops separate to finish the dish off with.

With two tablespoons of butter or olive oil, saute the yellow onion and and fennel over medium high heat for about 5 minutes, stirring frequently.


Add the chopped green onion bottoms and continue to saute until the onions and fennel start to caramelize.


In boiling water, blanche your peas whether they are frozen or fresh, boil them for about 3 minutes and then submerge them in cold water after (in order to maintain the color and the consistency)


The onions and fennel should be caramelized over medium heat after about 15 minutes and look like this...


Add your minced garlic and saute for another minute.


Then add the rice flour and let it coat the vegetables and the bottom of the pan. 


Stir the flour in over medium heat for about a minute.


Then deglaze the pan with broth and almond milk.


Add spices to your liking (I added about 1/2 teaspoon of paprika and a few dashes of black pepper) Stir in spices and turn the heat to low. Cover.


Start your pasta at this point--- have the water boiling and follow directions. I have been using this brand lately:


Once the pasta is cooking in the boiling water, add the blanched and drained peas, sour cream, parmesan cheese and salt (to your liking). Stir and keep the heat on low. You don't want to over cook the peas at this point but you want to keep it warm.


Drain you pasta and return it to the pot you cooked it in.


Pour 3/4 of the stroganoff sauce/veg over the pasta and stir.


Plate your pasta and ladle a bit more of the extra sauce/veggies on top. Sprinkle with chopped green onion tops.


Serve! xoxo

Friday, April 18, 2014

Kitchari

When we got back from Chicago/San Fransisco (so much traveling in March!) we were sick of eating. We had eaten so well and so richly that we sort of wanted a break from food...

So kitchari, is India's cleansing-food. It is extremely nourishing, with a lot of spices, and is fed to anyone who is sick or unwell as it is simple to digest, yet stimulates digestion. It is like America's chili because it is a thick, spicy stew that you can add every ingredient and the kitchen sink, but it is very light and easy on the body.

We went on a weeklong kitchari cleanse (kinda) as a nice reprieve for our tummies.
This recipe is vegan and gluten free :)

You will need:
3 cups of dried split muung dal (I normally use yellow and black, but I was out of black for this photo sesh)
2 cups of dried brown rice
6 cups of broth+ extra water
Ghee or coconut oil
1 medium onion, diced
3 carrots, chopped finely
8 cloves of garlic, minced
1 finger sized fresh ginger, peeled and minced (*or ground, if you only have it dry)
+Any vegetables you want to add (bell peppers, spinach, kale, green onions, peas, potatoes etc)
**in this one I added zucchini, bell peppers, and green onions
1/2 tablespoon black pepper
2 tablespoons ground cumin
1 tablespoon whole cumin seeds
1/2 tablespoon+ fenugreek seeds
1 tablespoon Mustard Seeds or ground mustard
2 tablespoons turmeric
1/2 tablespoon garam masala** optional, I like mine to have A LOT of spice-flavors
1 tablespoon ground cinnamon
1 dash of ground cayenne

Garnish:
Fresh cilantro
Squeeze of lime
Tamari
Sriracha
A dollop of sour cream or plain yogurt

Start by prepping your veggies and tracking down all of your spices (there are a lot)


In your ghee or coconut oil, saute onion, chopped carrot and all whole-seed spices (mustard, cumin, fenugreek) until the onions and carrot soften a tad, about 5 minutes.


Add your dal, rice, all other dry spices and broth and cook on a medium boil for 1 hour, stirring frequently. **if you use potatoes, add them here, too!


After one hour, add other tender vegetables (green onions, peppers, zucchini, etc.) and cover with more water, and continue to simmer (covered) for another 30 minutes, stirring frequently--- the kitchari will absorb all of the liquid and you may have to add more to get it to a consistency that pleases you.


After 30 minutes, taste your kitchari. The beans and rice should be soft, the broth should be almost completely absorbed and the overall flavor should be spicy (but not hot, unless that was what you were going for) but not salty. Since it is a cleansing food, kitchari isn't normally salted. I however, like to add tamari over the top when I am ready to eat it.


Serve with fresh cilantro, lime juice, tamari, hot sauce and a dollop of plain yogurt if you'd like!
xoxo


Tuesday, March 18, 2014

Early Spring: Green Garlic, Peas N' Potatoes


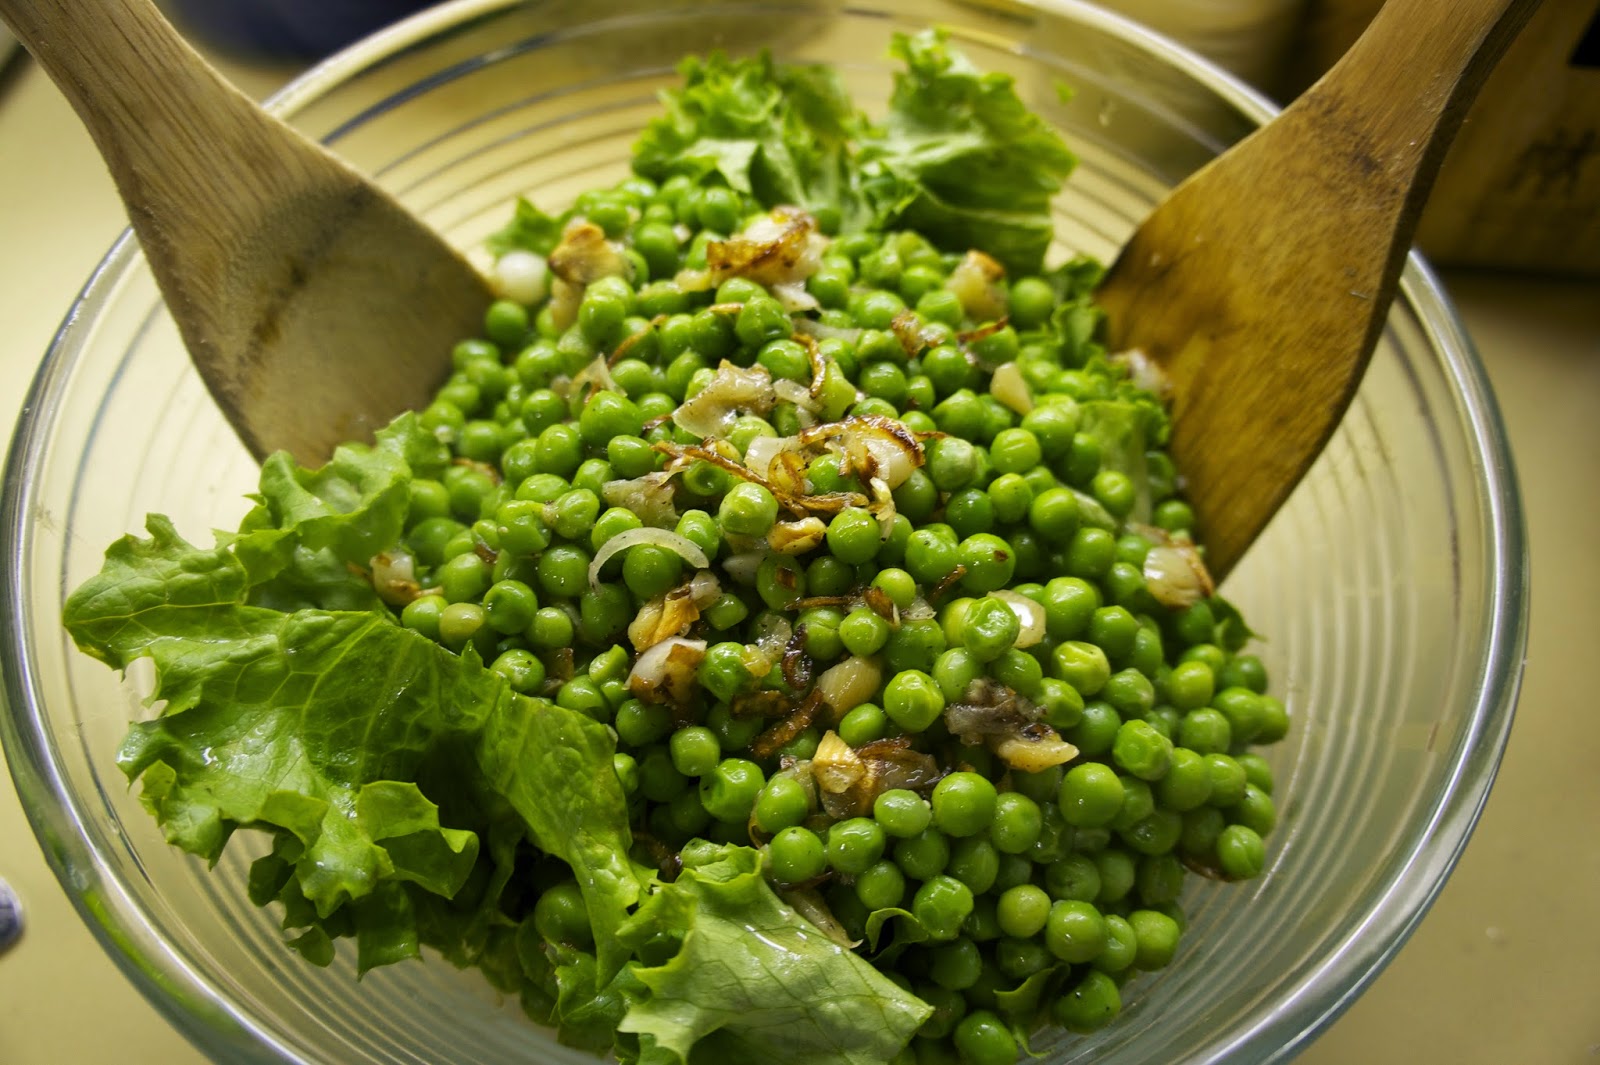
[Buttered English Pea Salad with Romaine lettuce, Shallots and Roasted Garlic]

and

[Vegan Potato and Leek Soup with Roasted Garlic]


Hello loves,
It's basically spring-- I have been digging in the garden for AJ and the little borage sprouts have already come up, the earth worms are abundant, the daffodils have already begun to daffodil (!) the tulips are as tall as my hand--- it is happening. The world is thawing out. I am so thankful.

Now that I am gardening with AJ I feel the push for spring but also can tell you, unless you have a green house nothing is mature enough to harvest yet. We just planted our peas, lettuce, garbanzos and parsley, just last week!

But in the spirit of spring, this post deals with all of the fruits of spring: onions, garlic, lettuce and peas! And potatoes are a keeper crop, so you have them all year basically, this is a very seasonal dinner.

This post is 100% vegan (if you use non-dairy butter for the peas, and leave off the recommended goat cheese garnish) 100% gluten free and 100% vegetarian...though, if you want, which I will recommend at the bottom, both dishes would benefit from a sprinkling of crispy bacon, chopped into tiny pieces...just saying, for all you omnivores out there.

P.s. (all photos by ME!!! And not with my iPhone either, woot!!)


For Roasted Garlic (both dishes):
2 heads of garlic, whole, wrapped loosely in aluminum foil

For the Leek and Potato Soup:
Olive oil
1 large leek, white through light green section sliced into half moons, rinsed thoroughly
1 medium yellow onion, diced
5 peeled russet potatoes, roughly chopped
2 cups of veggie stock
2 raw garlic cloves, minced
About 5 roasted garlic cloves, minced
1-2 cups of unsweetened almond milk
Salt and pepper to taste
*Optional Garnish: Caramelized (green park of) leeks, sliced thinly (see below for preparation)


For the English Pea Salad:
4 tbsp. unsalted butter
1 shallot, finely chopped
5 cloves of roasted garlic, chopped 
Salt, to taste
1½ cups fresh or frozen green peas
1-1/2 of a head of Romaine lettuce (about 2 cups, prepped, washed, cored, and torn into large pieces
 Freshly ground black pepper, to taste

*Optional Garnish: crumbled chevre


To begin, preheat oven to 375 degrees, place aluminum foil wrapped garlic heads in oven. Let bake for 30-45 minutes. You'll smell the amazing smell wafting in your kitchen and you'll know when it is ready.

Next, prep your ingredients for your soup-- I am making an extra big batch in these photos, so ignore the discrepancy between the amount of potatoes I listed and the amount of potatoes depicted-- my potatoes went south super fast (that is why they were on sale, dangit) so I decided to throw them all in....


You must must MUST thoroughly wash your leeks, the best way to do this is by chopping them and placing them in a bowl of cold water to bathe for about 10 minutes--- agitate the water with your hands and then let them sit, drain them with a colander after. Leeks tend to get dirt throughout their green stalk and in between their layers, so this is really the only way to wash them completely.


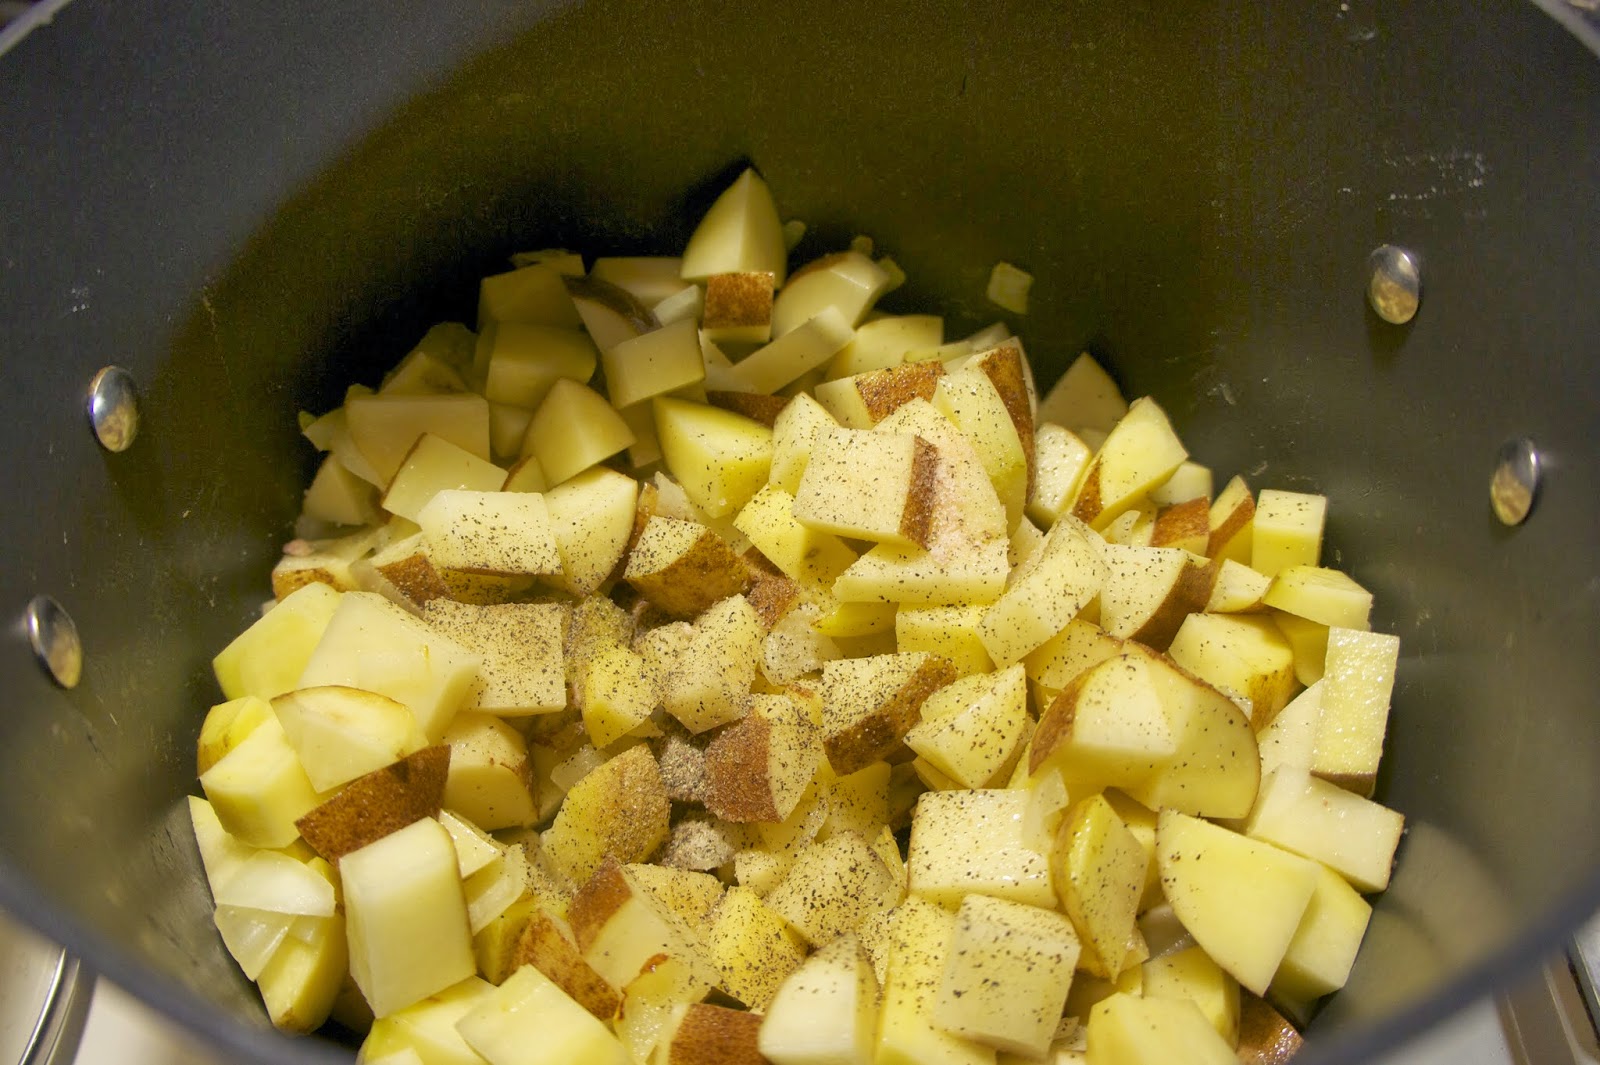
Saute the diced yellow onion, and chopped potatoes over medium high heat for about 5-10 minutes, until the onions are clear and the potatoes start to get some color on them. Stir frequently.


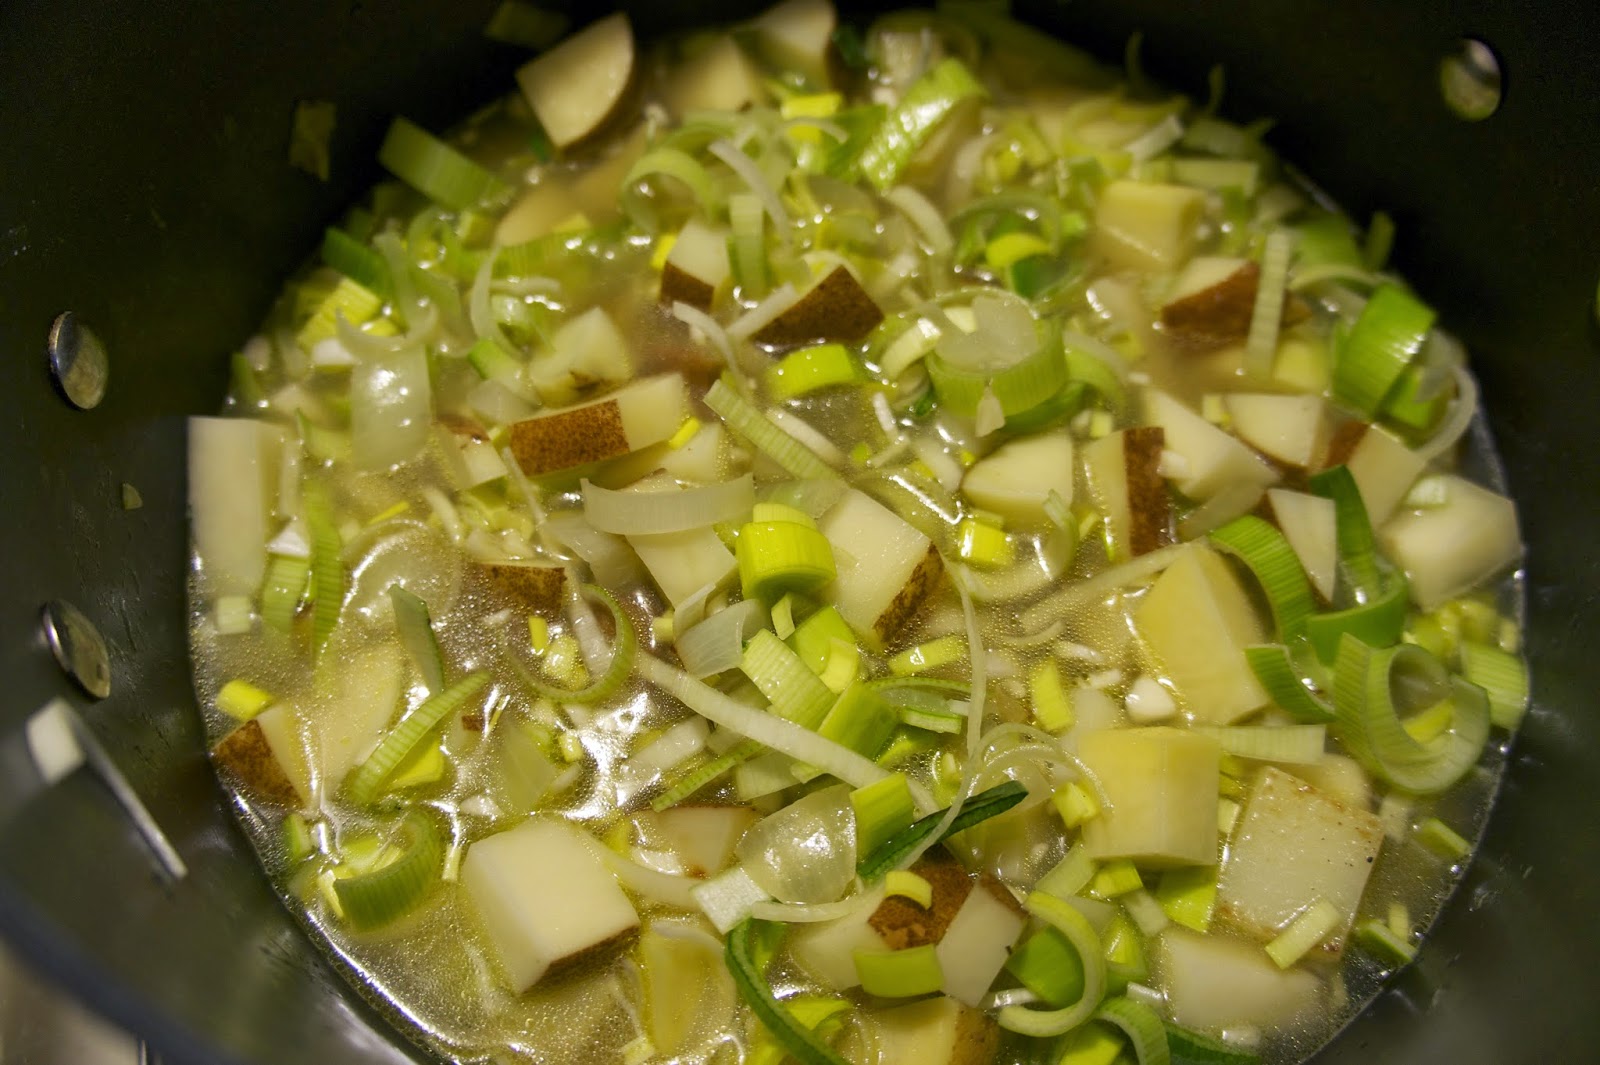
Add the veggie stock (so that the ingredients are covered), and raw garlic and turn the heat to medium. Allow the potatoes and onions to simmer for about 10-15 minutes, until the potatoes are so soft that you can stick a fork in them easily.


Once the potatoes are soft, add the washed and drained leeks and let simmer for another 5-7 minutes on medium low-- you don't want to cook them so hard that the leeks lose their beautiful color but you do want to infuse their flavor in your soup.


Oh yeah, and then AJ got home!


While the leeks are simmering, take the butter (if you are using vegan butter, ignore my 'god-awful' dairy butter, hehe) and melt gently in a saute pan. Add the sliced shallots and all them to turn golden brown over medium heat. About 5 minutes.


At this point, your garlic is likely done. Unwrap and you will find lovely, roasted garlic adorably shriveled up in its skin. Let cool before you peel and chop or you will burn yourself (as I did, even this time)

In a pot of boiling water, blanch your peas.

***Blanching: plunge any vegetable, this time peas-- into a pot of boiling water for 2-5 minutes until they are a vibrant color and softened. Then immediately plunge them in a bowl of ice water ("shock them") and then drain.


While the peas are in their blanching process, cut up roasted garlic cloves for your pea salad and your potato soup.


Add garlic (5 cloves) to the golden brown shallots and butter. Let melt into the buttery mixture on medium low heat for about 3-5 minutes. Then remove from heat.


Plunge peas into ice bath, and then drain.


Mix peas with torn lettuce, butter-shallot-garlic mixture in a salad bowl.


Garnish with goat cheese if you so desire.


Meanwhile, your potato soup is nearly ready to be blended now. Add cloves of roasted garlic and blend about 1/2 of the contents of your soup, adding almond milk to taste and create the consistency that you like. I prefer a creamy-blended potato broth with chunks of potato and leek. Taste and add salt and pepper to your liking.


In a saute pan over medium high heat, drizzle olive oil and add the green leeks. Saute until then begin to brown. Add as a garnish on top of your soup. Serve with crusty bread if you so desire.


*You can also add finely chopped or crumbled bacon to either of these dishes to make them more complete for omnivores' tastes :) If you do that, I would begin your bacon as you blanch the peas so that it is ready by the time you serve your food.


Serve the salad at room temperature.


Bon appetit!